Tags
'Tags' allow you to filter your Ako Map by a theme or category.
Make tags#
To make a tag, click the tag menu icon in the right toolbar:

The tag menu will then appear on the side of the screen.
Click the 'plus' icon to make new tags:

Give your tag an informative name, then press Enter or click out of the textbox to 'lock it in'.
The tag will now show up in your list of tags.
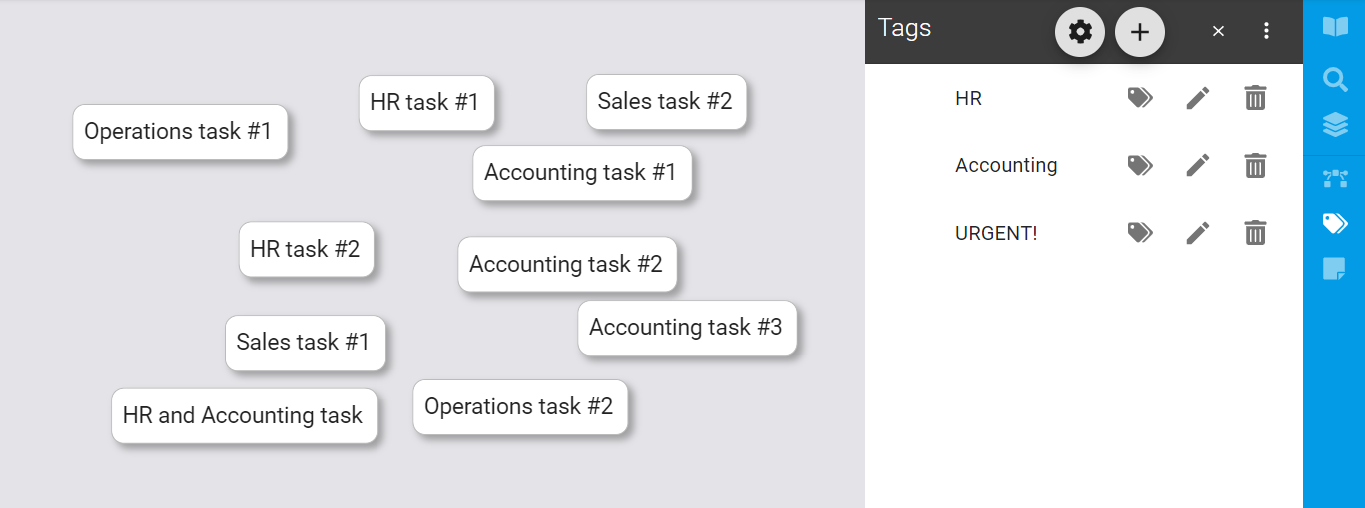
Add nodes to a tag#
To add nodes to a tag, click the tag icon next to the name of the tag you want in the list.
![]()
From here, click or drag over any greyed-out node(s) to add them to the tag. To remove nodes from a tag, just select them again.
When you're done, click anywhere on the background of the Ako Map to lock it in. You'll see a filtered view of only the nodes belonging to that tag.
View (or stop viewing) a tag#
To view a tag, just click it in the list of tags under the tag menu.
You can view multiple tags at once if you want to -- tags you're viewing have an eye icon next to them.

To stop viewing a tag or tags, just click the tag again so the eye icon disappears.
If you've clicked out of the tag menu, you'll need to click the tag icon again:
You can also click the Cog icon, then click Clear all selections to stop viewing all tags.
Delete a tag#
To delete a tag, go to the tag menu, then click the trash icon next to the name of the tag you want to delete.
Viewing items with multiple tags applied#
Sometimes, you'll want to view your map with more than one than one tag acting as a filter.
If you want to view all the items that belong to either tag (for example, things tagged as either 'HR' OR 'Accounting'), the system shows you all these nodes by default.

However, if you want to view only the items that belong to multiple tags (for example, things tagged as 'HR' AND 'Urgent'), you can change this in the settings.
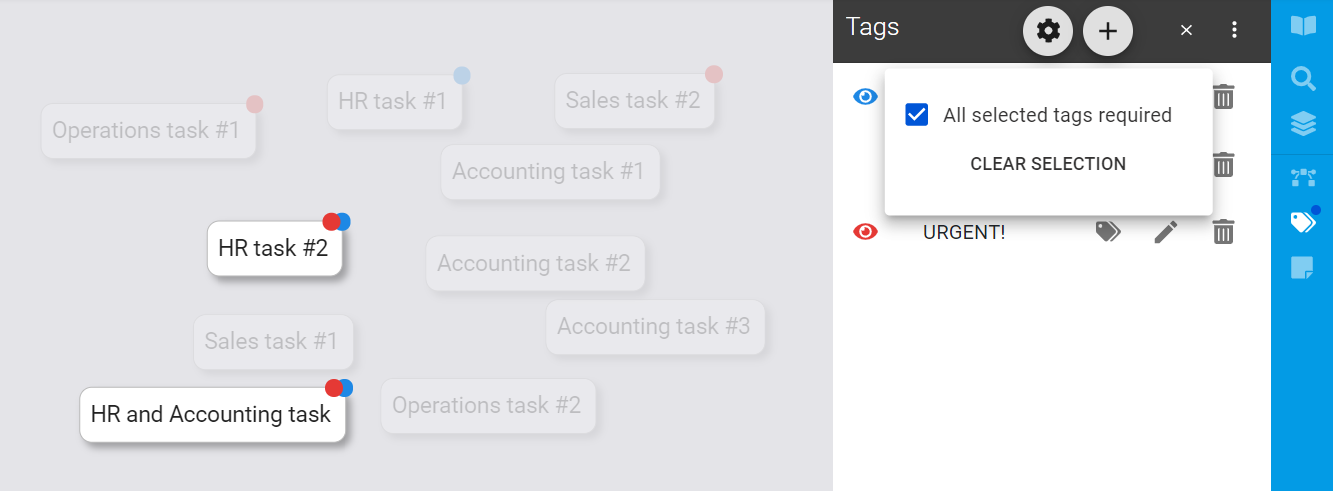
To make the tags act this way, click the Cog icon, then click All selected tags required.