Connectors (arrows)
Make arrows#
To make a connector, click any node, then click this icon:
![]()
The other nodes will turn green to indicate you're in selection mode.
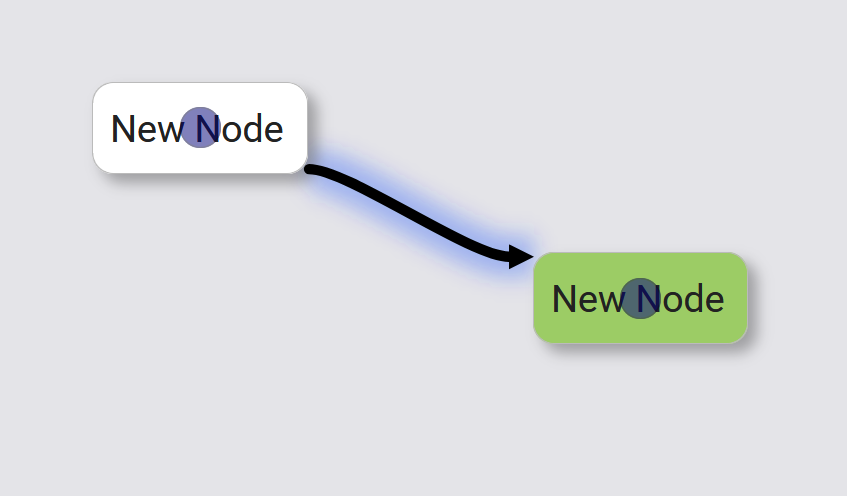
Now click whichever node you want the connector to point to. You'll see an arrow drawn between them.
Once you've drawn an connector, you can:
- Click *a different node to draw an arrow to that node too,
- Click a node you've already drawn a new connector to, which will make it the new 'starting' node, or
- Click anywhere on the background to end the selection.
Select arrows#
To select a connector, left-click it.
To select multiple connectors manually, hold the Ctrl key on your keyboard as you click the connectors you want.
To select multiple connectors by dragging over them:
- Click any connector on the screen. This 'toggles' the system so your next selection will pick connectors instead of nodes.
- Click down on the background of your Ako Map.
- Still holding the mouse button down, drag over the connectors you want to select.
tip
You have to cover the entirety of a connector with your selection to add it -- think of this as 'dragging a net' to catch the connectors you want to select.
To select all connectors on a layer, click any connector, then press Ctrl + A / ⌘ + A on your keyboard.
You can also select all connectors via the right-click menu.
To do this, right-click anywhere on the map and click Select all connections.
Move arrows#
To move a connector, select it first.
Move individual connectors#
You'll see each connector has two purple dots attached to it, one at each end:
By clicking and dragging either one of these purple dots, you can drag the end of the connector to the top, side, bottom, or centre of the node:
tip
You can also drag a connector to an entirely different node!
Move multiple connectors#
You can move multiple connectors at once by selecting multiple connectors to / from the same node, then dragging any connector to a new position.
Aesthetics#
You can make your nodes look great by changing their path, width, colour, and shape.
Shape#
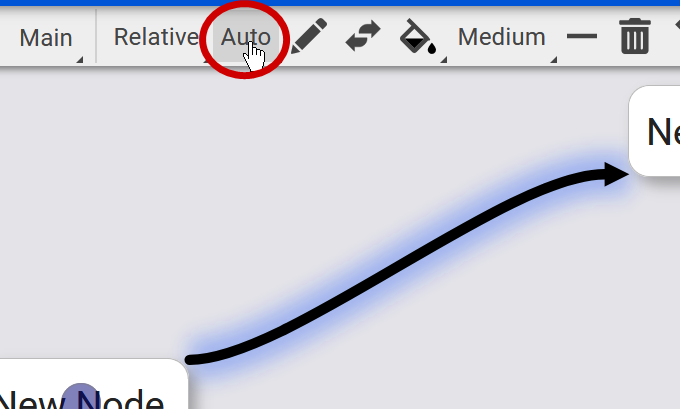
To change the connector shape, click the connector(s), then click the dropdown saying Auto and change it to:
Curve(a curved line),Elbow(a straight line with bends in it), orStraight(a straight line).
![]()
You can also change it back to 'auto' and the computer will pick whichever connector style suits your layout best.
If you want to change the shape of multiple connectors at once, select all the connectors you want, then choose a style from the drop-down.
This change will apply to all the connectors selected.
Path#
You can change the 'path' of a connector through your map, so the arrow is shown in a way other than the default straight, elbow, or curve path.
To change a connector path, select it, then click and drag the path point (the circle) that appears in the middle:
tip
You can click the connector again to add as many new path points as you want.
Width#
Change a connector's width by clicking the connector, then clicking this icon:
![]()
You can then choose the connector's width from the dropdown.
Colour#
You can change the colour of connector(s) by clicking them, then selecting from this dropdown:
![]()
Labels#
A label is a textbox joined to a connector.
To add a label, select a connector, then click this icon:
![]()
You can change this label by clicking the icon again, or by double-clicking the connector, then clicking into the textbox itself.
![]()
Connection roles#
A connector's role is the type of relationship it represents.
Some types of connectors have special features. For example, a Math connector allows you to filter nodes by the topics needed to derive a certain formula.
To change a connector's role, click the connector, then the dropdown reading Relative and choose an option:
![]()
Relative#
Relative connectors show hierarchical relationships between nodes.
In this example, Node B node is a subset of Node A, so the relative connector shows B is a descendant (child) node, and A is an ascendant (parent) node.

info
'Relative' is the default connector type.
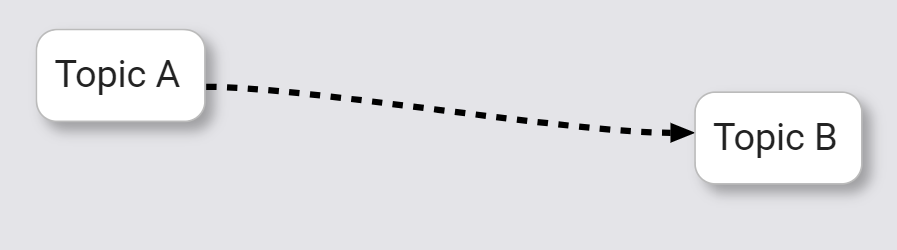
Generic#
This is for a connector that doesn't have any particular meaning. It shows up on the map as a dotted line, so it can be a good way to distinguish a unique relationship of some kind.
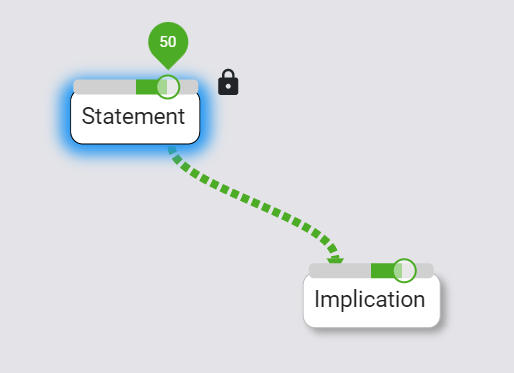
Maths#
'Maths' connectors show what nodes are necessary to derive other nodes.
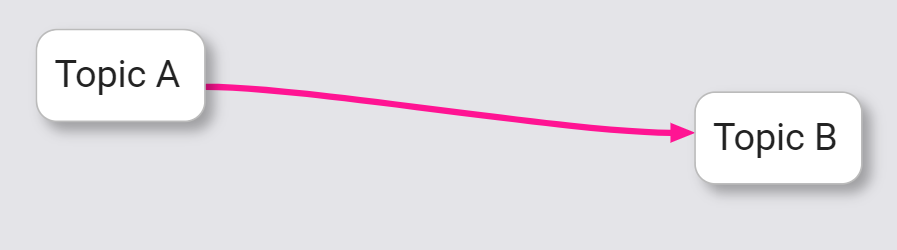
This connector enables a feature to filter your maps, showing you only what is needed to derive a theory, or only the implications of that theory.
Derivation and implication#
To see only the concepts needed to derive a theory, click View, then Show derivation only.
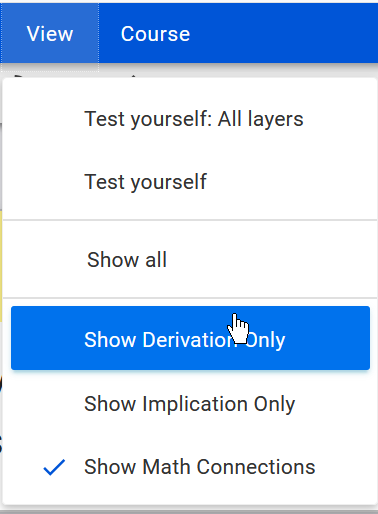
Now when you click a node, the only other nodes you’ll see will be the upstream inputs needed to derive that formula.
You can turn this feature off by clicking the button under View again.
Similarly, if you click View, then Show implication only, you’ll only see the downstream impacts coming out of the node you have clicked.
Again, just go to View and re-click Show implication only to turn the feature off.
Truth#
A ‘truth value’ is the amount of evidence you have for or against an idea. Truth values are subjective, so laying them out in an Ako Map lets you create a mental model of what you believe and why.
Truth values are shown in 'truth meters', which appears over nodes when you set a connector type to 'truth'.
Truth meters look like this:
To learn more about truth meters, click here.
Connector content#
Connectors can also contain clarifying content, the same as nodes.
To open the content for a connector, click the connector and make sure the content pane is open.